Trending

Keeping bees in Scotland is a different proposition from keeping them in the south of England. Spring arrives late and often sideways, the main nectar flow can pass in a fortnight of rain, and a colony that would be bursting at the seams by May in Devon may still be working through its last winter stores in Aberdeenshire. None of that makes Scotland a poor place for bees. Willow, sycamore, bramble, clover and — in the right spots — heather can produce genuinely beautiful honey. It simply means the timing, the kit and the winter preparation need adjusting. Here is what the first year actually looks like.
Think in terms of a shorter working year. Colonies usually start building properly in April, once willow and dandelion are giving pollen, and the main flow runs from late June into August. In upland areas, the heather may be the only serious crop, and it is weather-dependent.
Rain stops foraging, and bees stay clustered below roughly 10°C. That means fewer flying days than the same colony would get in Kent, and fewer chances for the queen to mate well. Plan for slower build-up and feed earlier than you think you need to.
Wind matters more than cold. An exposed site chills brood, lifts roofs and can blow a weak colony apart. Shelter from the prevailing south-westerlies — a hedge, a line of trees, a stock fence with windbreak netting — makes a measurable difference to how a colony performs.
There are regional differences worth knowing. The west coast is milder and wetter, so flows start earlier but are often washed out. The east is drier but colder in winter, with earlier frosts. And cold air pools in glens and hollows, so a hive at the bottom of a dip will sit in frost while one fifty metres uphill is fine.
You do not need a licence to keep bees in Scotland. There are still a few things worth sorting before your first colony arrives.
If you plan to sell honey, food hygiene and labelling rules apply, so speak to your council's environmental health team. For anything legal, financial or health-related, take proper professional advice rather than relying on a guide like this one.
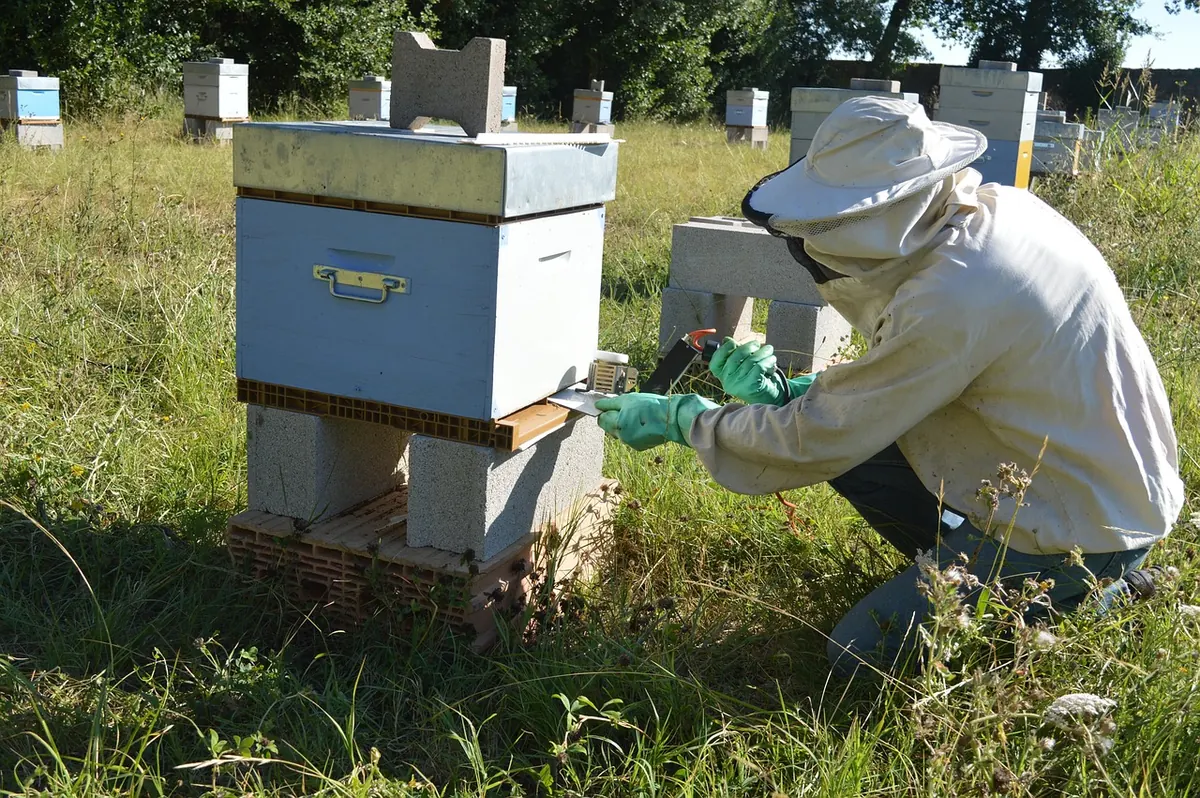
Aim for a spot that gets early morning sun — bees start work earlier — facing south or south-east, with shelter from the wind but open sky in front so they can climb away cleanly. The ground should be level and well drained, and firm enough to take a barrow of supers in August.
Consider what else is around. A reliable water source nearby saves a lot of nuisance visits to neighbours' ponds and hot tubs. Livestock are a genuine problem: cattle and horses will rub against hives and knock them over, so fencing is often necessary. Check for overhanging branches that will drop in a gale.
And talk to the neighbours before the bees arrive, not afterwards. A brief explanation and a jar of honey at the end of the season prevents most complaints.
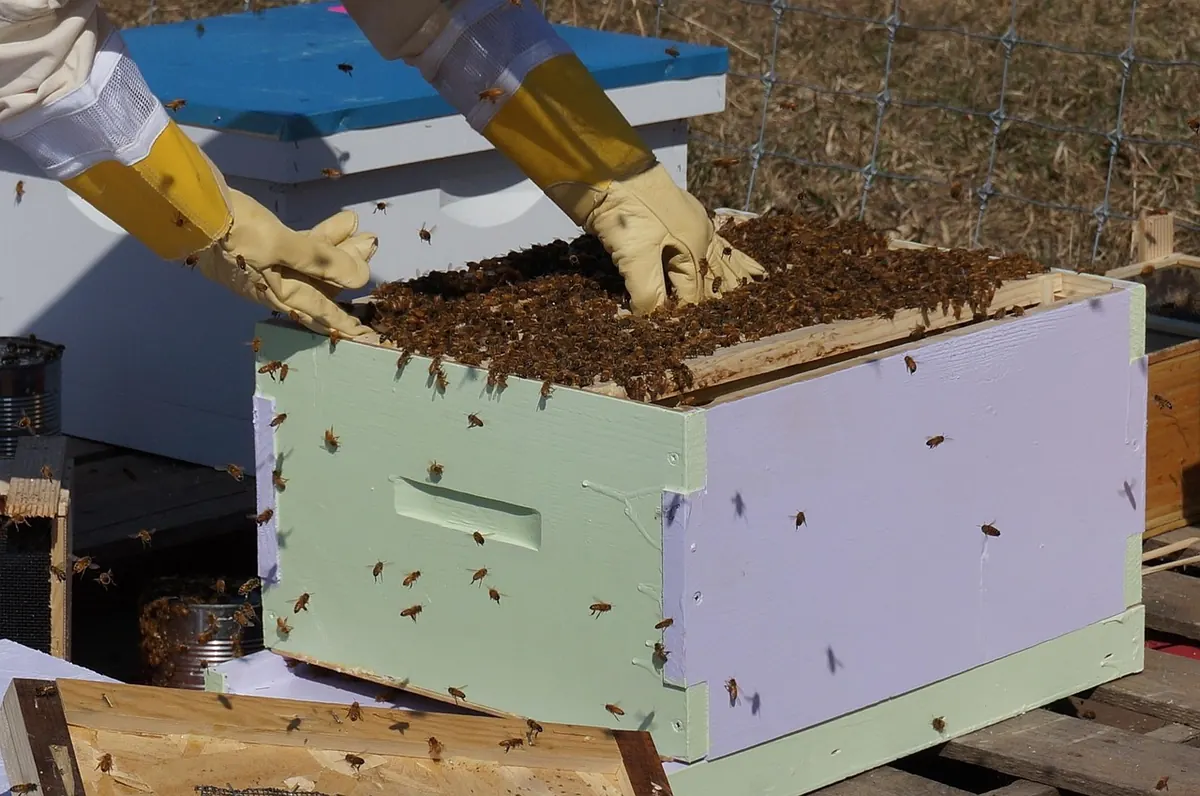
A National hive is the sensible default in Scotland — spares, frames and bees are all widely available. Langstroth and Smith hives work just as well; the type matters far less than having two of them.
The most common mistakes are starting with one hive, skipping the association, underfeeding in autumn and opening the colony too often in cold weather. Any one of those can turn a promising first season into a frustrating one.
Three things will do more for your first year than any piece of equipment: join your nearest beekeeping association, book a hands-on course before you buy anything, and find a mentor with hives within driving distance who will let you open a colony with them. Learn on someone else's bees first.
Then order your kit, order your nucleus, and pick a site with sun on it and a hedge between you and the worst of the weather. Scottish beekeeping rewards patience more than enthusiasm — and it is worth the wait.
Photo: pellegrinifarmgirl / Pixabay